Go to any concert and one of the biggest complaints you’ll see will be that too many people are watching on their phones and not with their eyes. But it’s here that a concert photographer will first get bitten by the bug that is photography. At some point you’ll want to be taken seriously as a photographer and the iPhone or Samsung Note can only do so much, but don’t throw your phone away just yet.
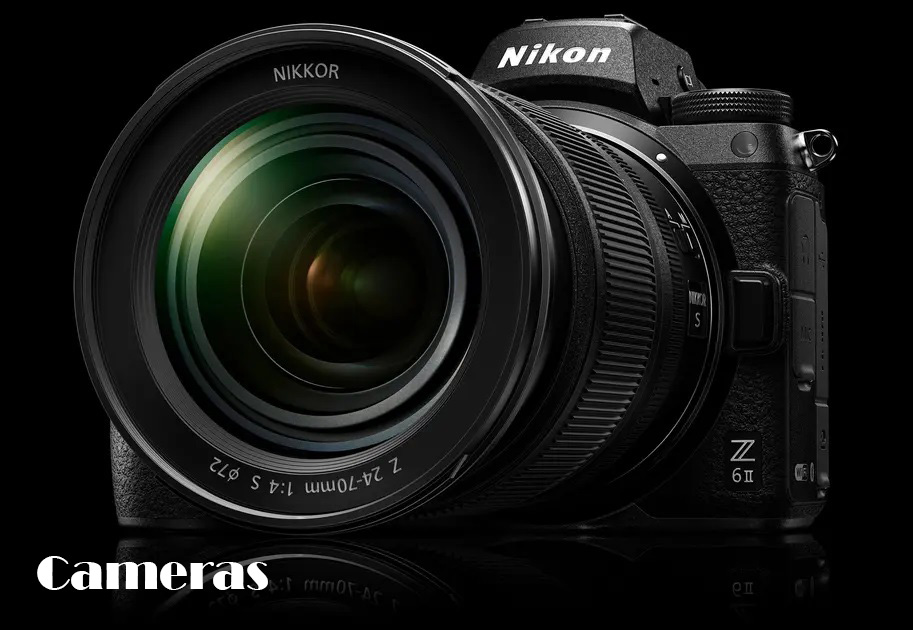
Before you even start to consider going into concert photography the first thing to consider is your camera. The primary choice of most concert photographers will be either Nikon or Canon. Ask any photographer and they will say they have the best make of camera, but in reality it’s all down to personal choice and what you intend using the camera for. And just because Canon and Nikon are the most used makes of camera it doesn’t mean you should be limited to just those choices, look at the photographers at any major festival and you’ll see a wide range of cameras in use, including Sony and Fuji. As a rule you should buy the best camera that you can afford, preferably new but there are lots of second hand options out there.
Notice I said “what you intend using the camera for”. By this I don’t mean what you’ll use it for outside of concert photography, although that may be a factor in choosing your camera. In the same way that there are lots of different types of nature photography there are many different types of concert photography. When starting out the most common type will be small clubs and pubs, shooting local bands in venues with no restriction on what camera you can take in with you. While this won’t really affect the choice of camera, it will affect the choice of lens.
Choosing the right camera
At the end of the day your budget will be what chooses the camera. If you have no money then you’ve probably been using your phone. While some might think the phone’s camera is perfectly okay for taking photos it’s not really up to the job of taking concert photos. That said, you can still get some great shots on a phone when a professional camera isn’t really an option, it’s a brave photographer who is willing to take thousands of pounds of camera equipment into a mosh pit. The below shots were taken from the crowd with an iPhone 12 Pro.
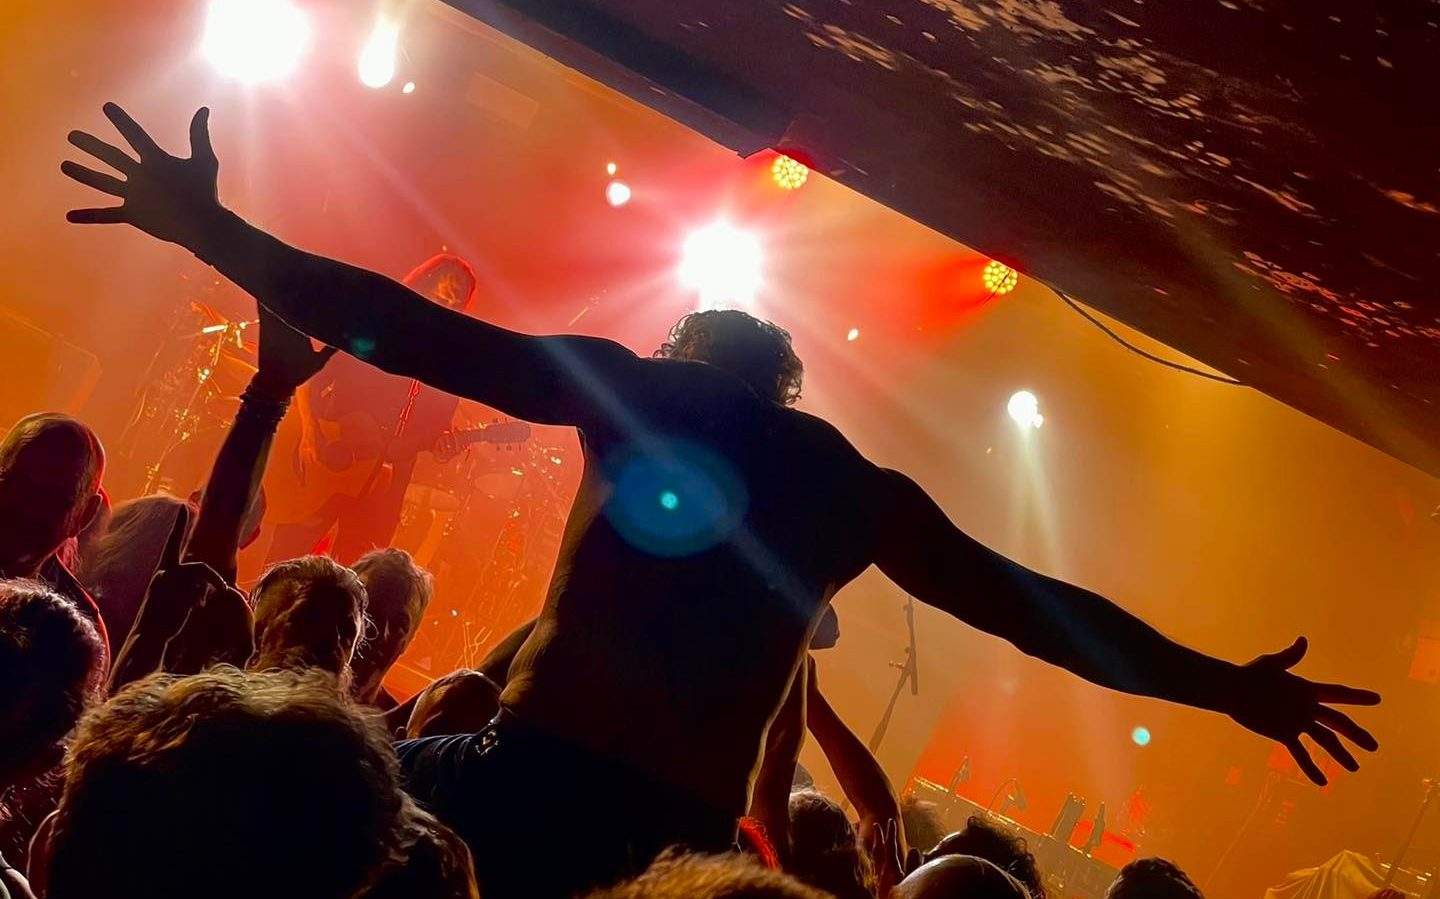
The biggest issue though with using a phone for photography is consistency. There’s very little control over the end result and action shots often suffer from excessive motion blur, unless exceedingly well lit. They can also suffer from image blowout when there’s sudden areas of brightness, such as from pyrotechnics.
Digital cameras have an array of options that allow the photographer to take control of their photography in a way that simply isn’t possible any other way. They fall into one of 3 main categories, with each offering benefits over the others the higher up the cost chain you get.
Crop Sensor
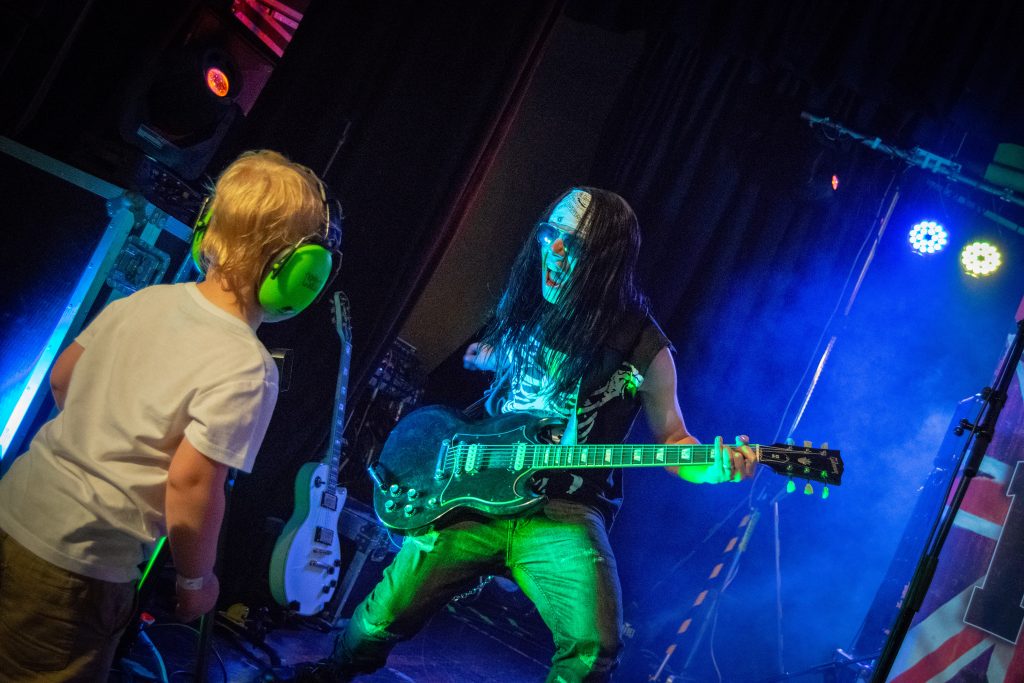
The cheapest option, and one that offers the most scope for the budget conscious photographer is the crop sensor DSLR. A good crop sensor camera can be picked up second hand for the low hundreds of pounds, but be aware of high shutter counts. Cameras with shutter counts in excess of 70,000 may be about to fail, so buy from a reputable reseller and see if they give a limited warranty. Reseller mpb.com offers 14 day returns and a 6 month warranty on all second hand cameras and lenses. For most concert photography this should suffice, but large festivals and arenas may not allow crop sensor cameras in the photo pit.
Crop sensors also come with another issue that becomes relevant when shooting venues with less than adequate lighting, noise. This isn’t an effect caused by music volume, but by overheating of the sensor when shooting at high ISO settings, where the end result looks grainy. There is software available to reduce noise in photos but this is often at the expense of definition and photos can look soft and almost out of focus. Another factor to take into account is that while you can use full frame lenses on a crop sensor camera you cannot use a crop sensor lens on a full frame camera without some loss of quality. Most full frame cameras come with a crop sensor mode to allow lenses to be used, but it achieves this by only using the centre portion of the sensor, which defeats the whole purpose of using a full frame camera. The below images were shot using my Nikon D3300.
Full Frame Sensor
For versatility you can’t beat the full frame camera. These are the cameras that you’ll see the majority of professional photographers using regardless of subject matter. They make an excellent choice for concert photography due to extensive range of lenses available to them, both original and third party. You’re also more likely to be able to find second hand lenses at a reasonable price for a full frame camera. This of course comes at a price, with camera bodies costing many times what a crop sensor camera body will cost you. You’ll also be pushed to find second hand bodies that haven’t been extensively used, by the time they hit the second hand market they’ll already be several years old having been used as a second camera, enabling a photographer to quickly change between lenses without having to remove and fit another lens.
Mirrorless
The final option for a concert photographer is to go for a mirrorless camera. Camera bodies are comparable to a full frame camera when it comes to cost, but don’t expect to find many available second hand. Often you’ll find deals on brand new cameras for less than the same camera is going for second hand so it’s worth shopping around. For pure picture quality it’s hard to beat a mirrorless camera, at the same settings as a crop sensor or full frame camera pictures are sharper, but it’s in really low light conditions where they come into their own.
Where you may be scared to crank up the ISO settings on another camera with a mirrorless camera you can simply crank it up and let the camera do it’s work. With camera bodies this good you might be asking the question why anyone would even consider a full frame camera today, and the answer to that comes back to lenses. Mirrorless lenses are ridiculously expensive when compared to full frame lenses, unless you’re willing to compromise and go for a crop sensor camera body. Yes, they do crop sensor cameras that are mirrorless, but they have the same issue that a standard crop sensor DSLR has, increased noise compared to the full frame equivalent. And if you’re upgrading from a full frame camera you probably don’t want to be replacing all of your lenses at the same time.
There are also fewer lens configurations available and third party lenses are even fewer still. There are some third party manufacturers now making lenses for mirrorless cameras, but for now there are nowhere near as many as for full frame cameras. Thankfully there are plenty of convertor options enabling you to use full frame lenses on a mirrorless body, but these still come at a cost. The reason for this is because the fitting ring on a mirrorless camera is usually larger than that on a full frame one. The distance from the fitting ring to the sensor is shorter as a result and this produces another benefit of mirrorless cameras, shorter lenses than the full frame counterpart.
It’s not all good news though, mirrorless cameras drain batteries like no other camera, with shots per battery often measured in the hundreds, and not the thousands you might get from a full frame or crop sensor camera. So bring plenty of backup batteries with you.
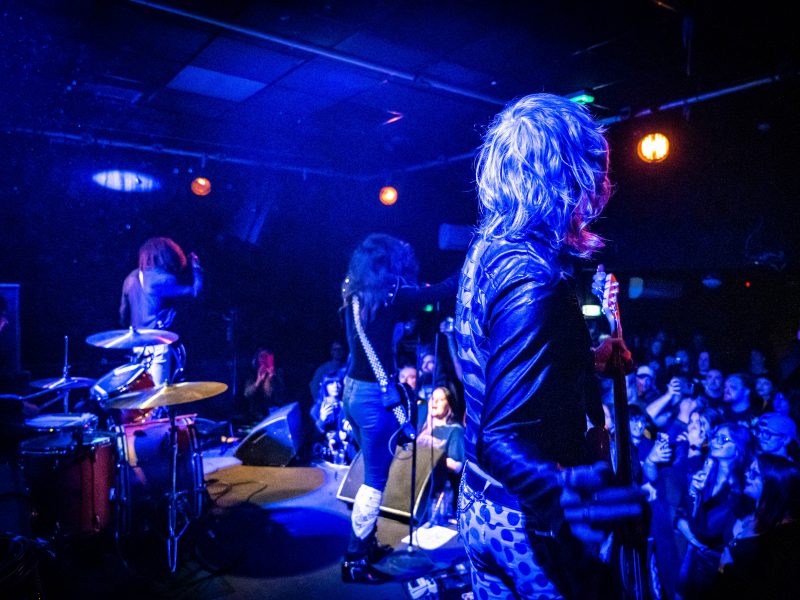
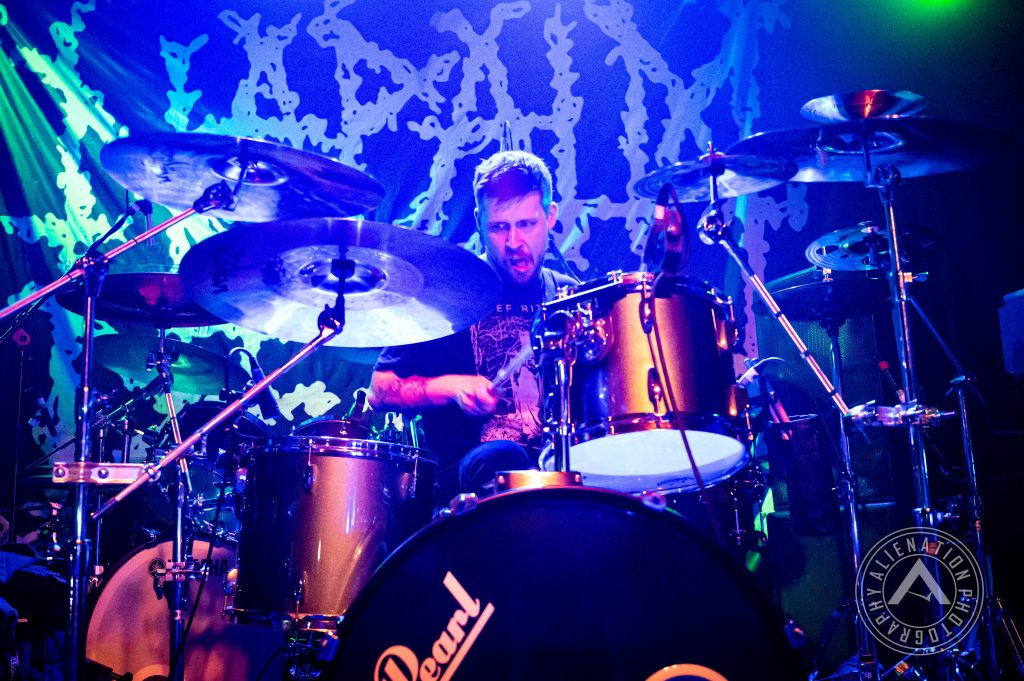
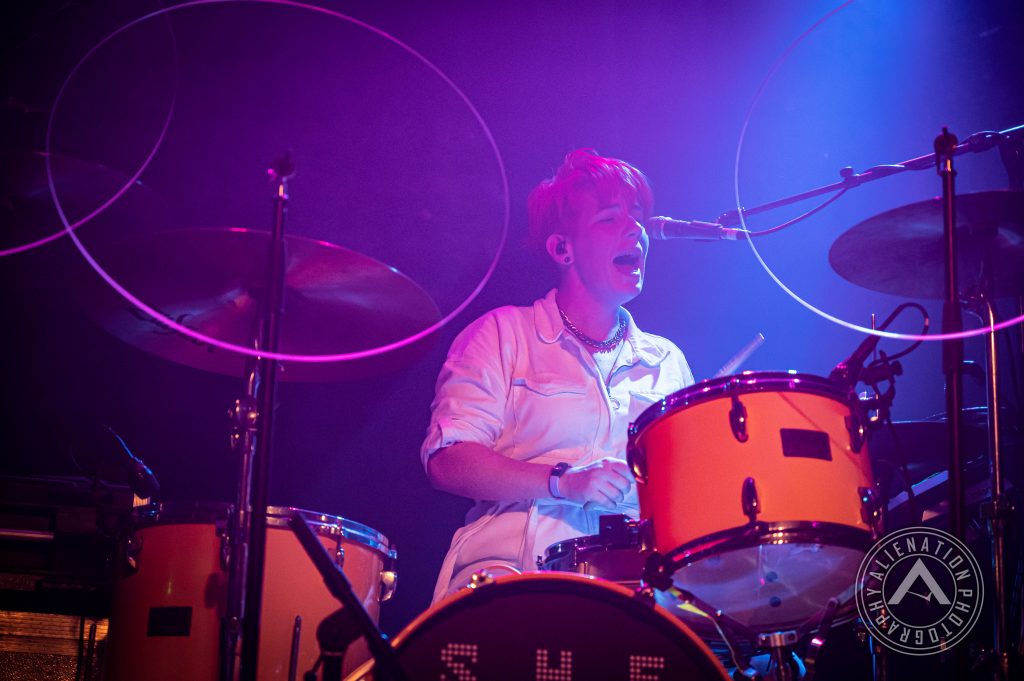
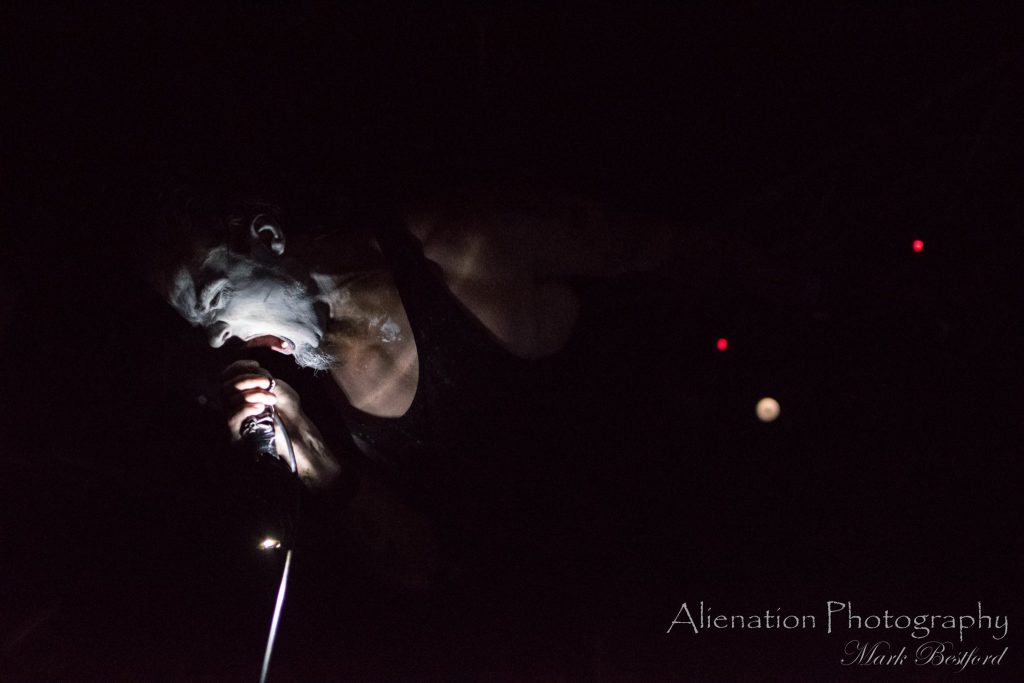
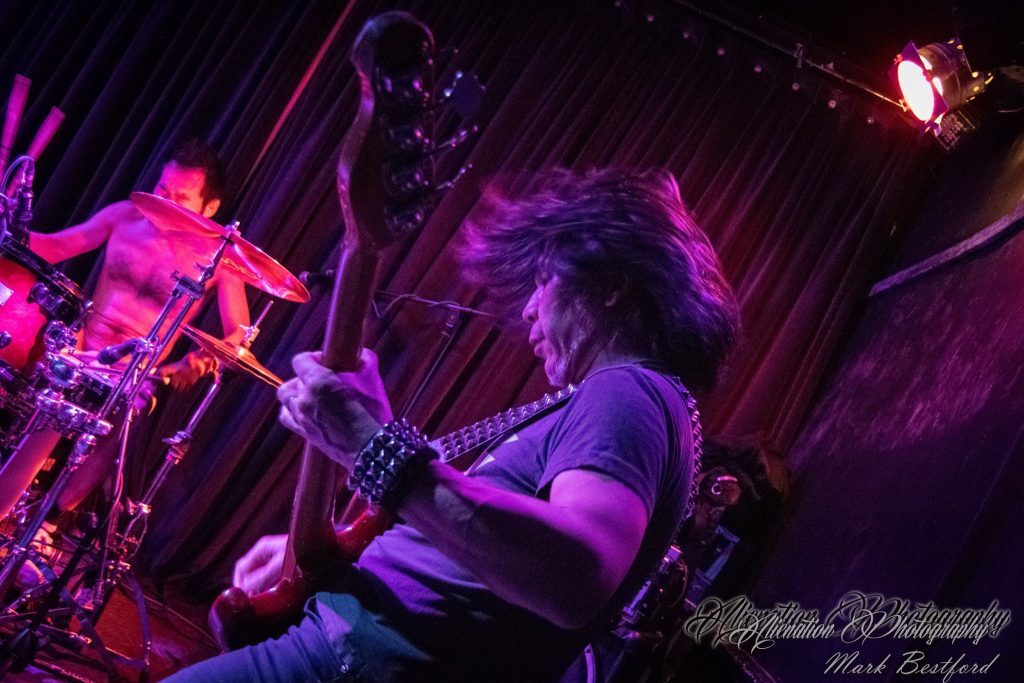
One of the banes of concert photography is taking photos of the drummer. Usually they’ll be at the back and lighting will be much worse than for the rest of the band. Not an issue with a mirrorless camera, as these shots taken at an eye watering ISO 51,000 show.
The Exposure Triangle
No, this isn’t an area of Hyde Park where perverts drop their trousers to scare little kids, this is the most important rule that any concert photographer can learn. You’ll also notice this is being told before I get to lenses, because you need to understand the exposure triangle before you can choose which lenses to attach to your camera body. There are three settings that affect exposure when taking a photo. Get them wrong and the photo will be too dark, or too bright. These are ISO, shutter speed, and aperture.
ISO is really a hangover from the old days of film photography when the speed of the film was graded by it’s ISO setting, and thankfully today we don’t have to spend an extortionate amount buying high speed film for action photography. Strangely enough though high ISO film suffered from the same problems as high ISO digital photography, noise. To put it simply the higher the ISO setting on your camera, the brighter the exposure will be, so for concert photography you will probably be setting this as high as you can get it, before the image becomes too noisy to use. This will of course be different depending on the camera you’re using, crop sensors don’t really like anything above 800 ISO, but with the right editing software you’re usually okay taking it up to 6400 ISO. The full frame camera will be more than happy at 6400 ISO, and as we’ve seen above mirrorless cameras will go even higher before it becomes too noisy to use the photo. So take the ISO settings you’ll be using into consideration when you look at the other 2 sides of the triangle.
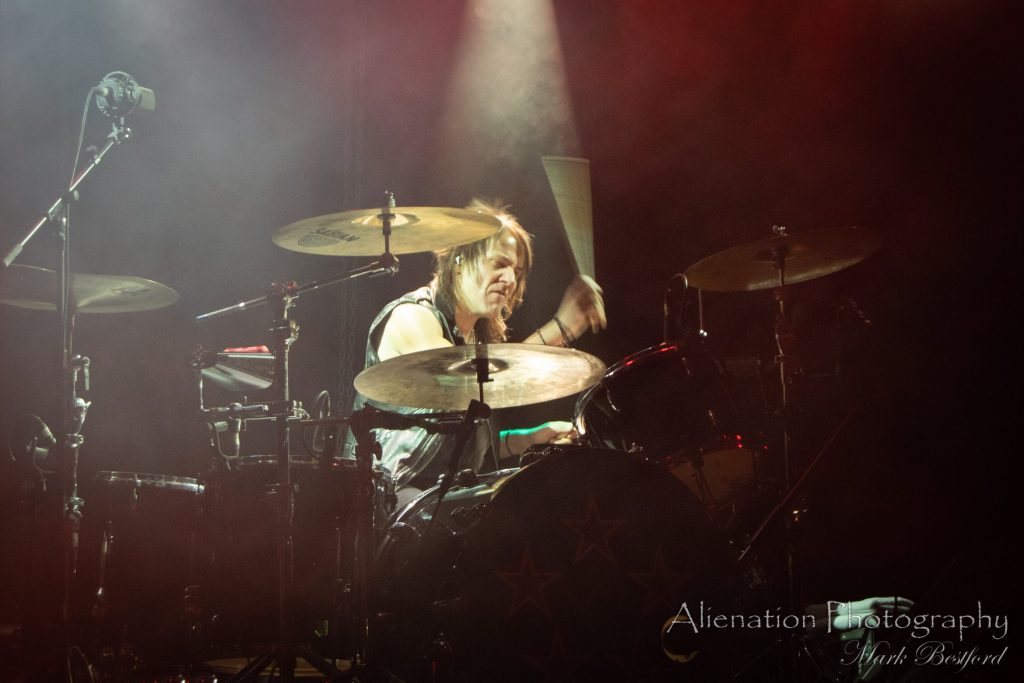
The other setting you’ll be using exclusively on the camera is the shutter speed. Shutter speed is the one I tend to set so that it’s adjustable on the camera body using the rotating thumb dial, with aperture and ISO fixed. If your camera is fast enough to adjust to changing light conditions you may want to set a fixed aperture and a maximum ISO, then let the camera choose the appropriate ISO for your shutter speed, but you do accept some loss of control doing this. Depending on your subject you want this as high as possible, or as low as you can get away with. If your subject is fairly stationary then feel free to use a slower speed and then bring the ISO down accordingly to reduce any noise you may have. If your subject is active then you’ll be wanting to set your shutter speed as fast as you can, certainly somewhere between 1/250 to 1/400 of a second, to eliminate as much motion blur as you can. The exception here is the drummer, if you’re wanting to catch the motion blur of the drumsticks then you’ll be wanting a much slower speed than for the rest of the band, somewhere closer to 1/80 of a second.
I’ve left aperture to last. The numbering system for aperture is a bit backwards, the wider the aperture, the smaller the number. The wider the aperture, the higher the exposure as well, so for concert photography you want to be keeping it as low (or wide) as possible. A low aperture also has another benefit, of blurring out the background, and can create an effect called bokeh, where light is rendered while out of focus. Used well it can create a very artistic image. This also draws the eye to the subject of the photo as they will still be in focus. The aperture setting is entirely dependent on the lens fitted to the camera, which takes us to our next section.

For concert photography you’ll need three lenses, depending on the type of venue you’re shooting. They come in 3 main types, zoom, prime and macro. Unless you’re planning on taking photos of the guitarist’s nasal hair you won’t be needing a macro lens, but the others are an essential piece of any photographer’s kit bag.
Short Zoom Lens
When starting out you’ll probably need a short zoom lens to begin with, this will give you plenty of scope for a variety of photographs, from wide band shots to close portraits, depending on how close the subject is. For crop sensors you’ll be looking at something like an 18-55mm lens and a 24-70mm full frame lens. .Aperture is your key factor here, you want to get it as low as possible, for crop sensors you’re ideally looking at a 1.8 aperture, and for full frame and mirrorless a 2.8 aperture. You will have to pay more for the low fixed aperture lenses though, so if you have to go for the stock lens don’t be put off, the variable 3.5-5.6 aperture stock lens can be used in most situations still, even on a crop sensor camera. And as with camera bodies the lenses for crop sensor cameras are a lot cheaper than for full frame or mirrorless. Most of the photos taken on my D3300 were taken with the 18-55mm F/3.5-5.6 short lens that came with the camera. This is the workhorse of the pub and club circuit and is the ideal lens for when you want to get up close and personal in the photo pit. It’s flexible enough that you can go from portrait to wide band shot without having to change lens mid shoot.
Long Zoom Lens
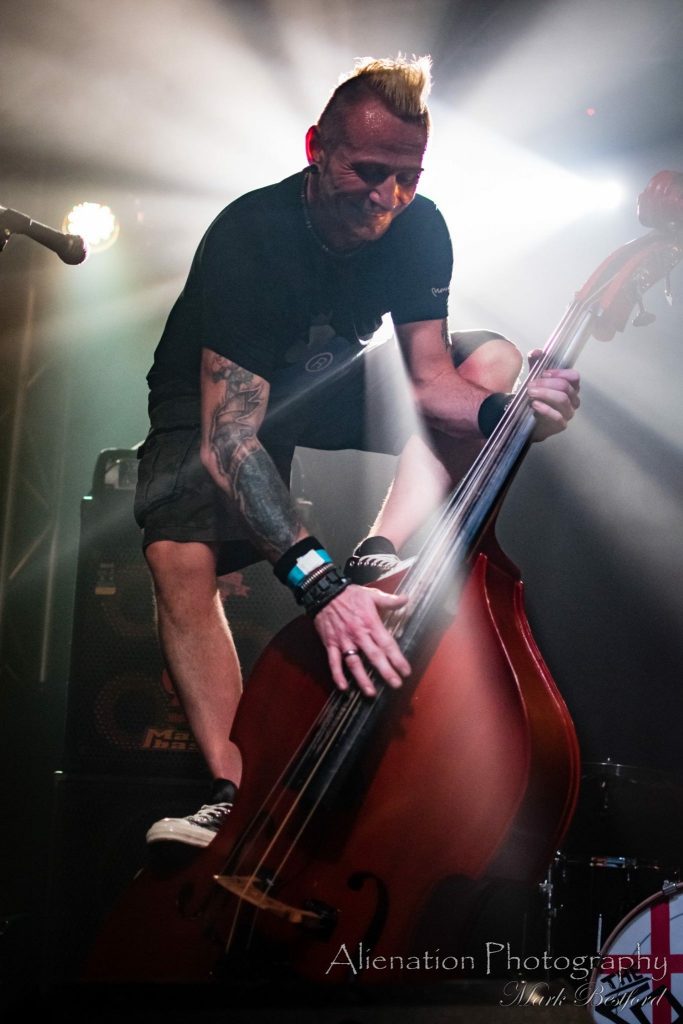
Sometimes though a wide lens can be too wide and you need something a bit longer. This is where the big money is spent with lenses costing in the thousands. Or at least if you buy them new. Again, as with the short zoom lens it’s cheaper to go for a higher variable aperture over a fixed low aperture lens, with lenses in the hundreds and not the thousands of pounds. Here you’re looking for something in the range of 70-300mm or even 120-300mm. There are options available that cover the whole range from 18mm-300mm but at a cost, both monetary and performance as these will often come with a much wider aperture range. These lenses really come into their own in an outdoor festival setting, where the band is much further away, or larger venues such as arenas.
Prime Lens
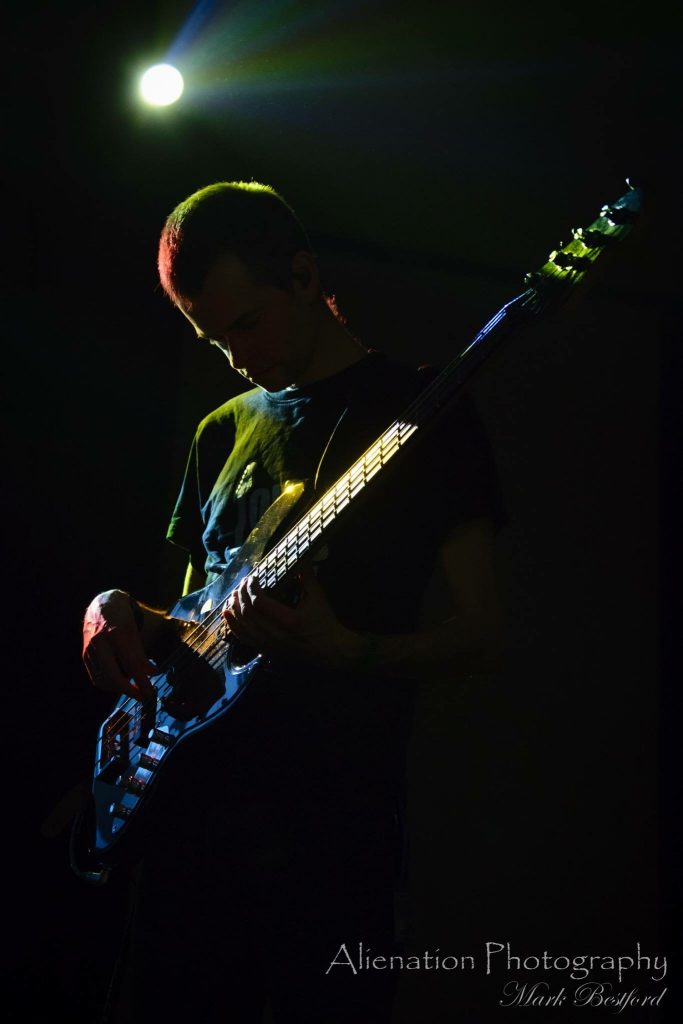
The last lens is a prime lens. Prime lenses are a great cheap way of getting a fast wide aperture lens for extreme low light situations. These are for when even with the shutter speed as low as you dare go without too much blur and the ISO cranked up as high as you can before noise makes it unusable the exposure still looks like you’ve taken a photo of a black cat in a coal cellar. You looking here for 1 fixed 35mm F/1.8 or 50mm F/1.8 lens. These are the stock and trade of every portrait photographer in existence and can be found for sale second hand for less than £100. Even new you’re looking at just a couple of hundred. Why not just use prime lenses if they’re that cheap and work so well in low light? Because they’re fixed. You have no option to change the zoom on the lens to frame the shot better. So the only way you’ll get a close up or wide shot will be to physically move, running the risk of even missing the shot you were hoping for. But when all else fails they can be the difference between getting that shot you want and going home without anything usable.
Fish Eye Lens
There’s a fourth lens that often gets used by photographers, and that’s a fish eye lens. These create some fantastic images but are very limited in what you can do with them. Whenever I’ve seen them used they’ve always been attached to a second camera. They’re also quite expensive for something you may not even use that often so I’ve omitted them from my three go-to lenses. This is not to say you should ignore them completely, but they’re mentioned here as a nice to have for when you want that super-wide distorted effect shot.
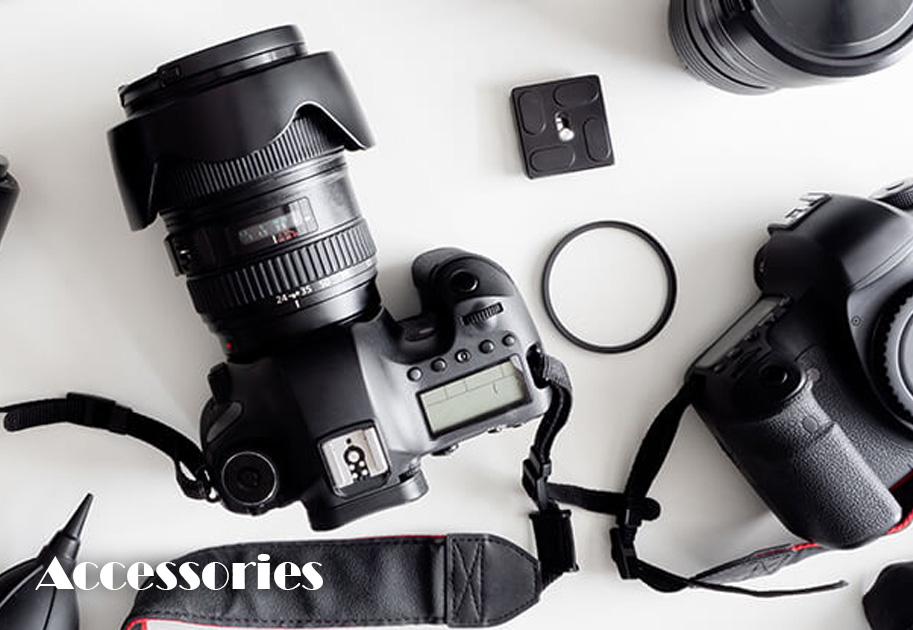
Once you’ve got your camera and lenses sorted out you would be advised to considering spending on a few extras. You may have got a memory card with the camera, but consider upgrading it. It may surprise you just how quickly you can fill a memory card when you first start out so consider a larger card, or even several. Memory cards aren’t as expensive as they once were so it’s not as prohibitive as it once was. Go for a minimum of 64Gb in size. Also, make sure you buy branded cards that have a fast data speed. You don’t want to be waiting for each image to save before you can take the next shot. Cards with speeds in excess of 150 Mb/s should suffice, but ones that state they can handle 4k video are best as these will be better able to handle burst shooting, an essential shooting method if looking for the elusive jump shot. If the camera supports SD cards then consider using a micro-SD adaptor, you don’t have to go for a full size SD card.
Another essential will be either a bolt-on battery pack, or some extra batteries. Make sure the ones you get are compatible first, manufacturers tend to use different batteries in different cameras. If the camera supports charging via USB then also consider an external power bank, this will allow you to charge the camera in between shoots, or even while you’re using it.
For concert photography you won’t need a tripod, not unless you’re shooting from an arena sound desk or taking a scenic shot of a festival from the top of the hill. If you do decide to get one though, they’re an essential for night time photography, then don’t go for the cheapest you find. Go for a reasonable brand with a ball head mounting. Cheaper tripods can have quite a bit of wobble to them even when you have everything screwed together as tight as you can. My personal favourite is the Element Traveller from Manfroto, they’re more expensive but I’ve never had an issue with it and it should last you a lifetime.
Camera bags are an essential for any photographer. You may find it useful to own more than one, one for small venue photography and one for festival use, should you get to that level. The reason is that at a festival you’ll be carrying everything with you. Don’t worry, you won’t be carrying 15kg of equipment between stages. But you will want to be able to pick and choose lenses depending on the stage you’re shooting. You’ll also want your laptop with you so you can edit the photos while there. For small venues you want the bare minimum, so either a small backpack or even a shoulder bag with just the camera, maybe a spare lens, and some batteries. If you have the budget then Tarion do an excellent backpack that has a pull out shoulder bag large enough to fit a camera body and 2 lenses. The main bag has adjustable pockets for lenses and space for a small iPad as well as a large laptop. This gives you the best of both worlds in one one heavy duty backpack.
One item everyone forgets until they need one, spare lens caps. You take the cap off the lens, put it in your bag or your pocket and start shooting. The lens cap is right there, isn’t it? I’ve lost count of how many times I’ve gone to check my pocket to reattach the lens cap to then realise it’s not where I put it. Now I always carry a spare, just in case.
Now you’ve got your camera and lenses it’s time to learn how it works. You could just leave the camera on AUTO but you won’t be getting the most out of it. There are several key settings you should play around with and get familiar with.
Flash
If your camera has a built-in flash one of the first things you’ll need to do is turn it off. In almost every music venue the rules are the same and you will hear it repeated over and over again. Three songs, NO FLASH. There are some venues that will allow the use of a flash when taking photos, but these tend to be smaller clubs and pubs with appalling lighting. You also want to avoid using any built-in flash even in these settings as they’ll result in very flat looking photos. If you absolutely must use a flash buy a separate flash unit that can be rotated so that it’s pointing at the ceiling and cover it with an opaque material or light diffuser to soften the light.
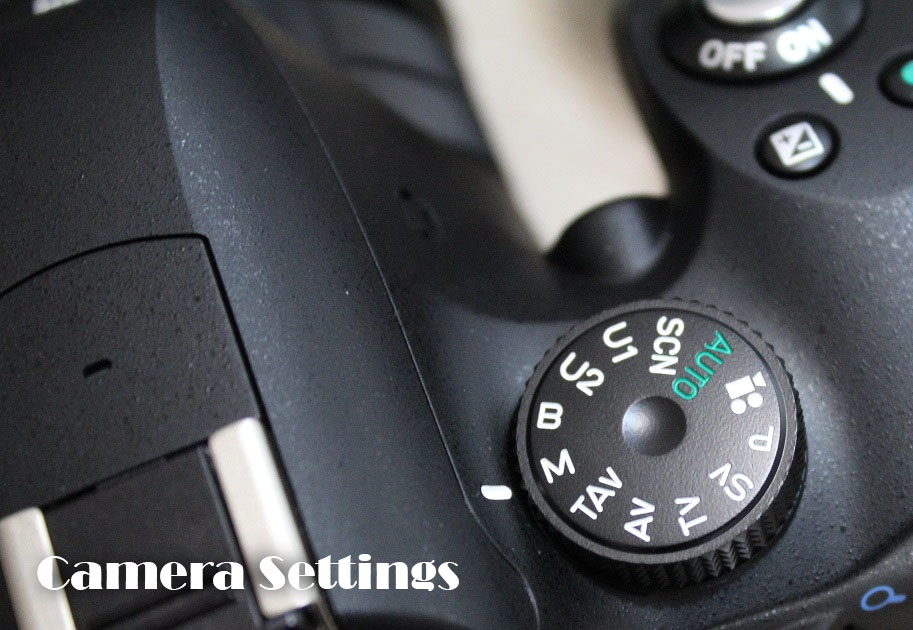
Priority Mode
On the settings wheel next to where it says AUTO you may have what are known as priority settings. These are great for when you want some control but aren’t yet feeling up to going fully manual as these can be considered semi-auto modes. You should have settings for A, S, and I and these allow you to use the settings wheel on your camera to set Aperture, Shutter, and ISO to a fixed figure while letting the camera handle the rest, which is useful if you’re working in rapidly changing lighting conditions. It’s really personal preference but I usually use shutter priority with a speed of 1/250 of a second and let the camera deal with the rest. It then becomes a quick and easy job to just use the thumb wheel to quickly switch to 1/80 for drummers or 1/400 if there’s plenty of hair movement or even a jump shot.
Manual Mode
Going fully manual may seem daunting, but it’s definitely a skill worth developing. Priority mode can only get you so far and sometimes you may want to compensate for rapidly fluctuating lighting or you’re looking for a particular shot. As with priority modes the thumb wheel will be assigned to one setting but usually one of the other settings will be set to the function button, often found on the front of the camera. Normally this means setting the shutter speed using the thumb wheel normally, and then setting the ISO setting with the function button and thumb wheel combined. Experiment with the settings and you’ll soon get the hang of what works best in any given situation. I usually set ISO to 3200 and shutter to 1/250 and then take a shot, and then adjust accordingly. If too bright, lower the ISO, if too dark lower the shutter speed. If you find the image is too dark still and your shutter speed is now around 1/100 or 1/80 then consider either increasing the ISO to 6400 or swapping the lens for a fixed wide aperture lens such as the 35mm or 50mm F/1.8 lenses.
Metering
If running in full manual mode metering isn’t really an issue, but it can be if you’re shooting priority mode. This is because out the box most cameras will take a wide meter reading and average it out to choose the settings it thinks are right for the shot. This can be an issue if areas of the stage are better lit than others and you’re trying to shoot a part of the stage that may not be as well lit. Consider switching the camera to spot metering and then moving the metering area to where you want the camera to focus on, this way bright backgrounds won’t make the rest of the photo seem dark by comparison.
Autofocus
Most cameras out the box will focus when pressing the shutter release button, or they’ll be constantly refocusing depending on the camera. More expensive cameras may even have facial and eye recognition built-in to make the job of auto focusing even easier. There are two main things to consider when focusing. Firstly where the camera is focusing. As with metering consider changing the focusing mode of the camera so it’s focusing on the spot you’re interested in. This is especially key if the subject is set to one side and you don’t want the background to be in focus instead. This is one of the main issues when trying to photograph in low light as the focus will struggle to make out the definition required.
The second thing is one that once tried you will wonder how you ever managed without it. Even cheap crop sensor cameras have this ability. Turn off the shutter release focus. Or to be more precise, reprogram one of the buttons that is hardly ever used to be the focus release button. Usually this is the small button on the back of the camera labelled AF-ON. You can configure this button to do a variety of options in the menu settings, but what you want to do is set this to be the focus button. Now you don’t have to worry about focus areas and the like or the shot going out of focus as you depress the shutter release. Point the camera, set the focus, and then reframe the shot and release the shutter. You can now focus on any part of the stage without worrying about it.
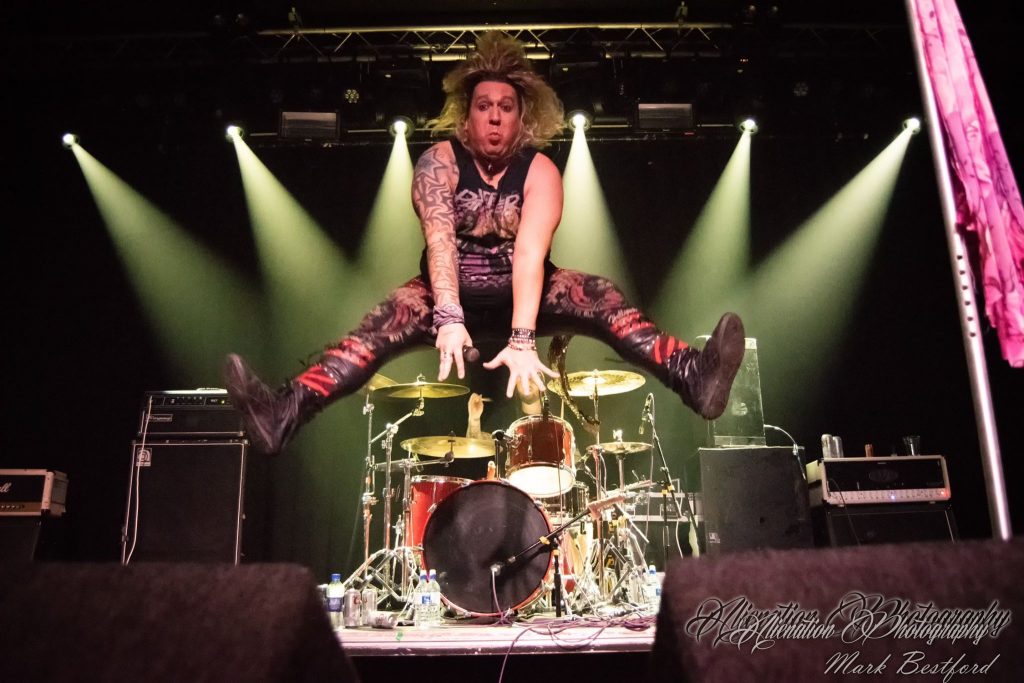
Burst Mode
Most of the time you’ll want one click of the shutter for one photo, but every now and then you’ll be after a particular shot. Drummers, jumping guitarists, and even hair flicking singers can benefit from shooting in burst mode. This is where you hold the shutter button down for an extended period of time and the camera takes lots of shots in quick succession. You then look through the shots taken for that one perfect moment in the middle that you might otherwise miss if only taking a single shot.
JPG or RAW
You’ll be wanting to edit your photos after taking them. This really isn’t an option, always shoot in RAW mode. It’ll create larger files, but it stores more data in each image, allowing you to make edits that just aren’t possible in JPG mode. From exposure adjustments to fixing blown lighting shooting in RAW can be the difference between throwing a photo in the bin and creating a work of art.
The are plenty of editing programs on the market but arguably the most used is Adobe Lightroom. It’s not that expensive either in the grand scheme of things as Adobe do a photography package. I won’t go into too much detail except to say have a play and see what works for you. The main areas you’ll be looking at are vignetting in the presets, and the contrast and exposure settings. Under the detail options you’ll find Noise Reduction, which will be essential if shooting at high ISO. Also, don’t forget the Temperature and Tint controls for when you want to rebalance the skin tones in the photo. Other than that, everyone uses their editing software differently. Give 100 photographers the same RAW image and you’ll get 100 different finished photos back. Also, don’t be afraid to revisit old photos after you’ve got the hang of the software.
There are also third party plugins that you can buy for Lightroom that have advanced noise reduction capabilities. DXO’s Nik Tools are one of the best options, but unfortunately the free version is no longer available. There are plenty of other tools, mostly labelled as AI tools, but some claims seem to be too good to be true. At the end of the day your best option is to not need them in the first place and just stick with Lightroom’s built-in functionality where possible.
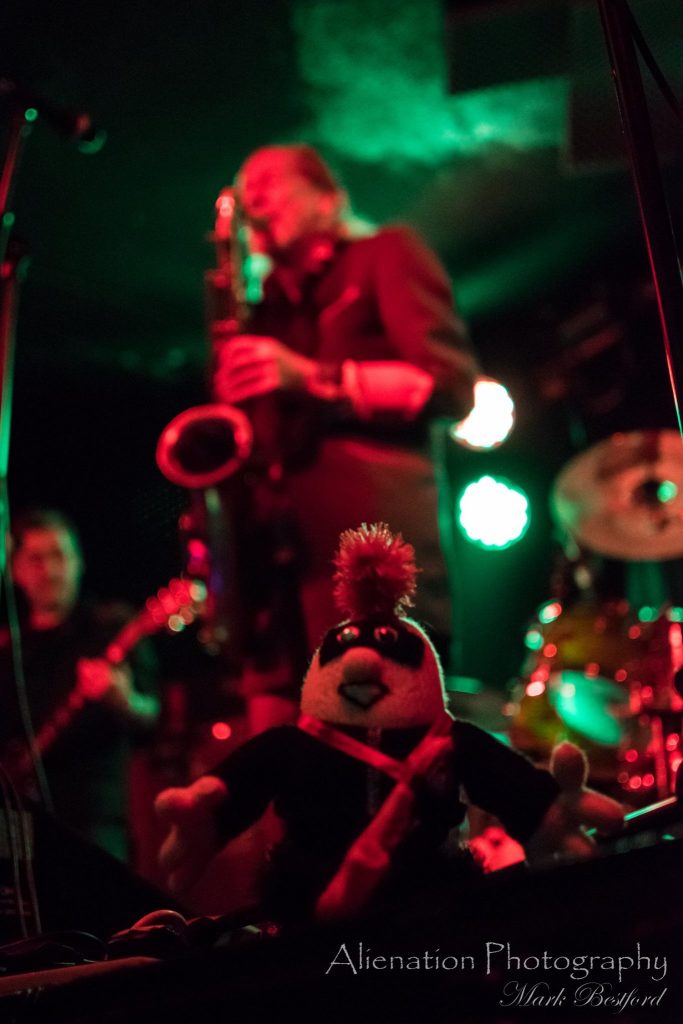
Everything above has dealt with either the camera or the software. But photography is as much, if not more, about the human factor. Without a human being using the camera there are no photos. Even if that’s simply setting up the camera for a monkey to take a sneaky selfie, it still takes a human to put it all together and to then process the final photo. This final bit deals with the advice needed to make you a better photographer, regardless of the equipment you are using, whether it’s your phone or the latest Hasselblad camera.
The Rule of Thirds
Have you noticed when you open your camera there’s often a grid separating the view into nine equal rectangles? This is because of what is known as the Rule of Thirds. Put simply an image is more aesthetically pleasing if the focus is on one of those lines. It’s not a hard and fast rule, sometimes you want a symmetrical image, and at the end of the day photography is an artform and you are the artist. Feel free to experiment and develop your own style and break rules. Sometimes just changing the angle of a shot can turn what would overwise be a boring composition into something that looks dynamic and exciting.
Avoid Amputations
Where possible avoid chopping limbs off. And if you absolutely must make sure you make it clean, if you’re missing fingers but still have a hand in the shot consider cropping the photo to exclude the hand. The same goes for any appendage and even instruments. You can get around this somewhat by shooting a slightly wider angle than you want and then cropping in the final edit, but at the end of the day it’s up to you.
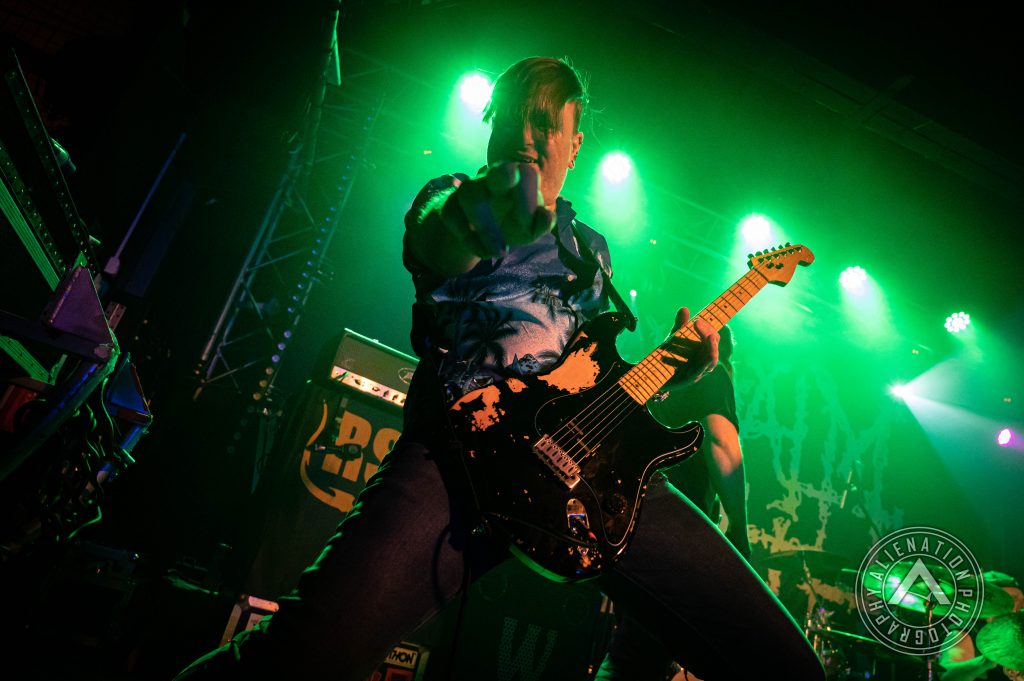
Watch Everything
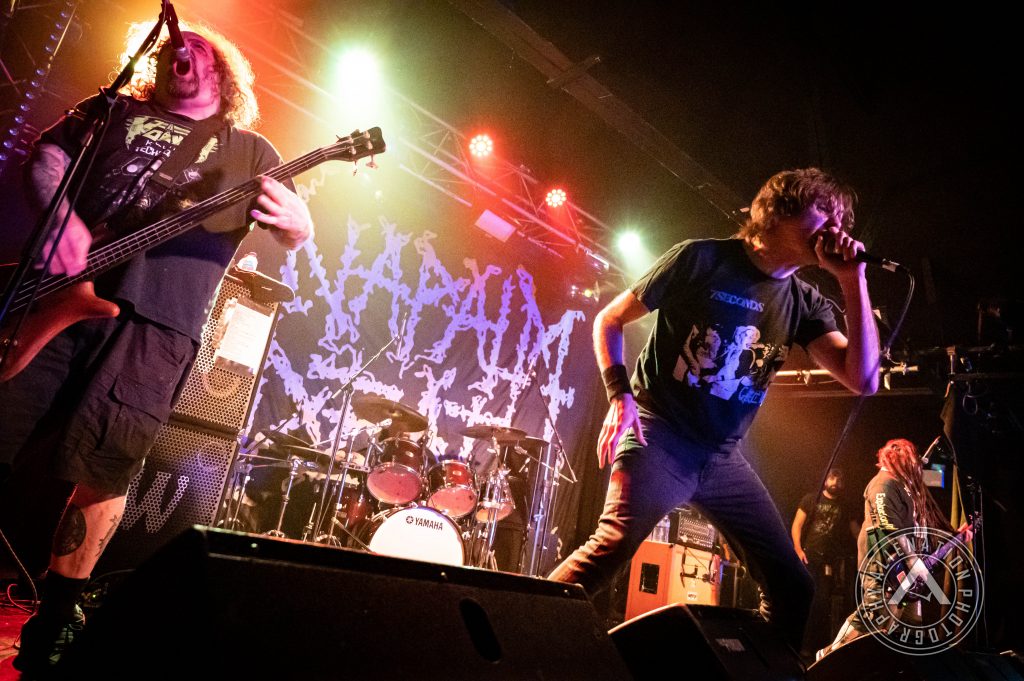
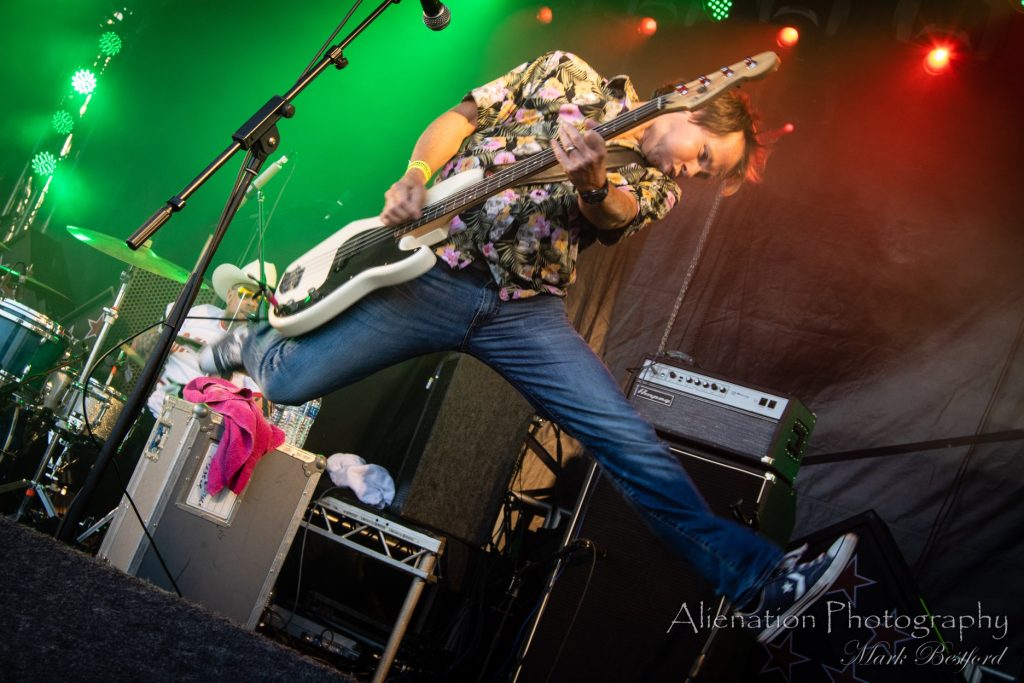
When you start out you won’t have any idea of how to read a stage. You’ll still be able to get some great shots, but once you start to be able to read the stage then your chances of those great shots increase dramatically. Some of this comes from getting to know a band really well, and some will come from a naturally developed instinct. In most bands there’s a show-off, the one that likes to swing a guitar around and jump around like he has springs in his shoes. It’s usually the guitarist. Over time you get to learn to see the telltale signs to watch for, the quick bend of the knees before leaping in the air. The other one to watch for is the one that always eyes up the drum riser, which is a great way to help launch someone high in the air.
Get Lucky
A lot of photography is simply being in the right place at the right time. If you aren’t standing, or sometimes kneeling, in that exact spot at that time then there simply is no shot. Once you learn how to read the stage then what starts out as luck will become skill, but even after decades of photography there will always be that lucky photograph that you look down at the back of your camera and think to yourself “wow, did I just take that?”
Lights, Camera, Action
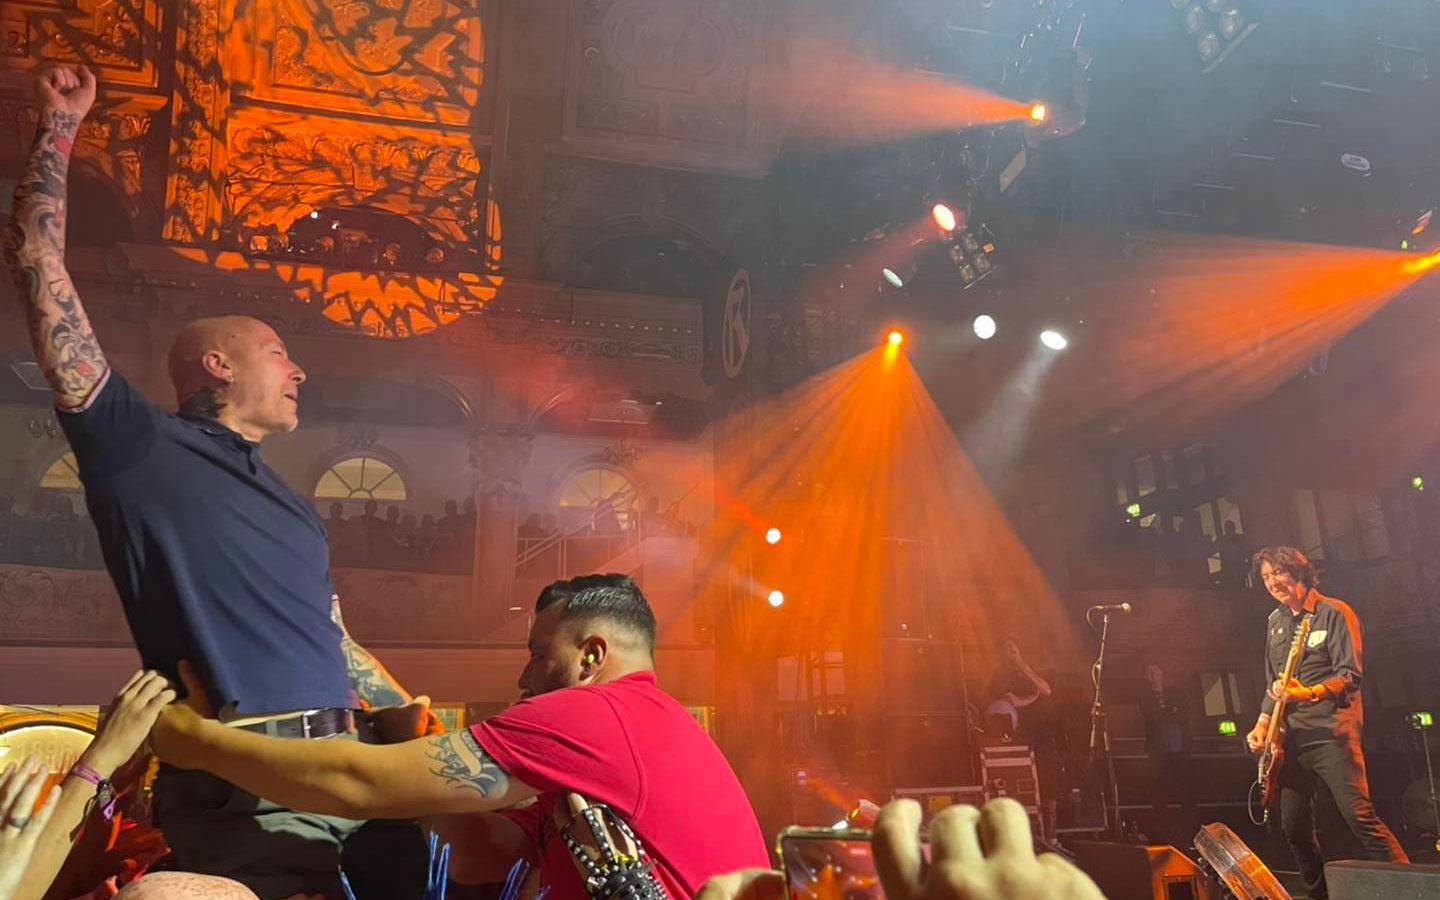
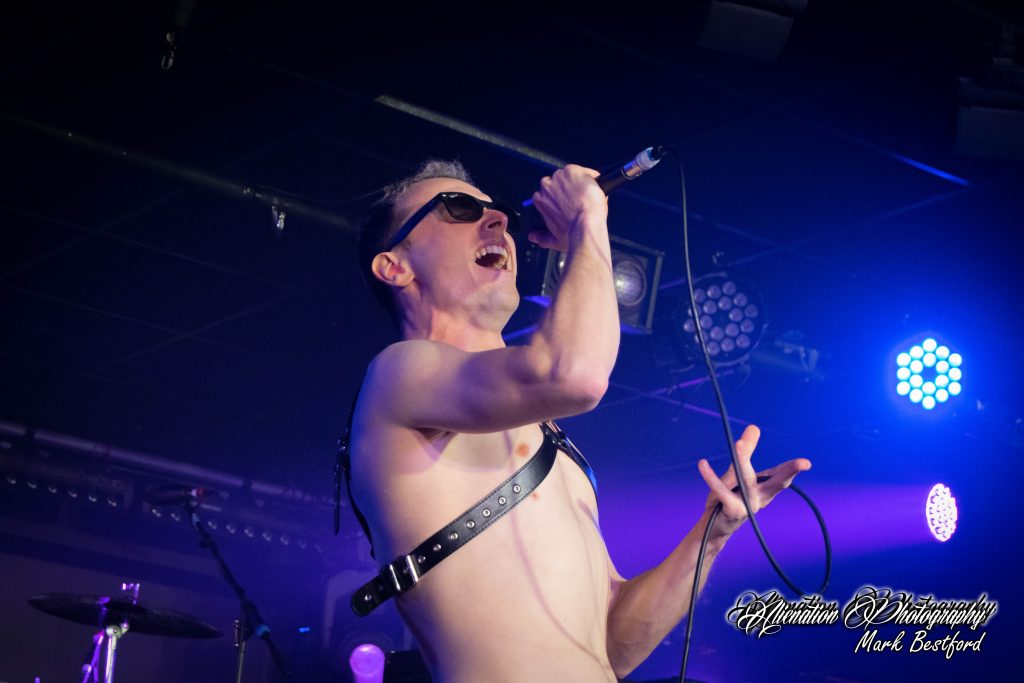
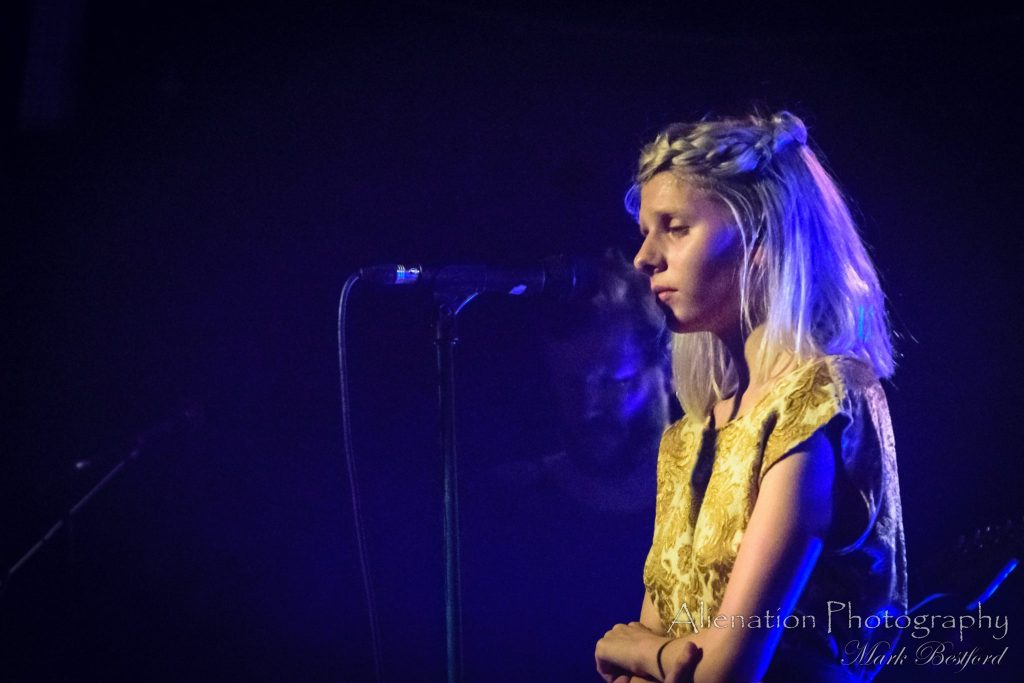
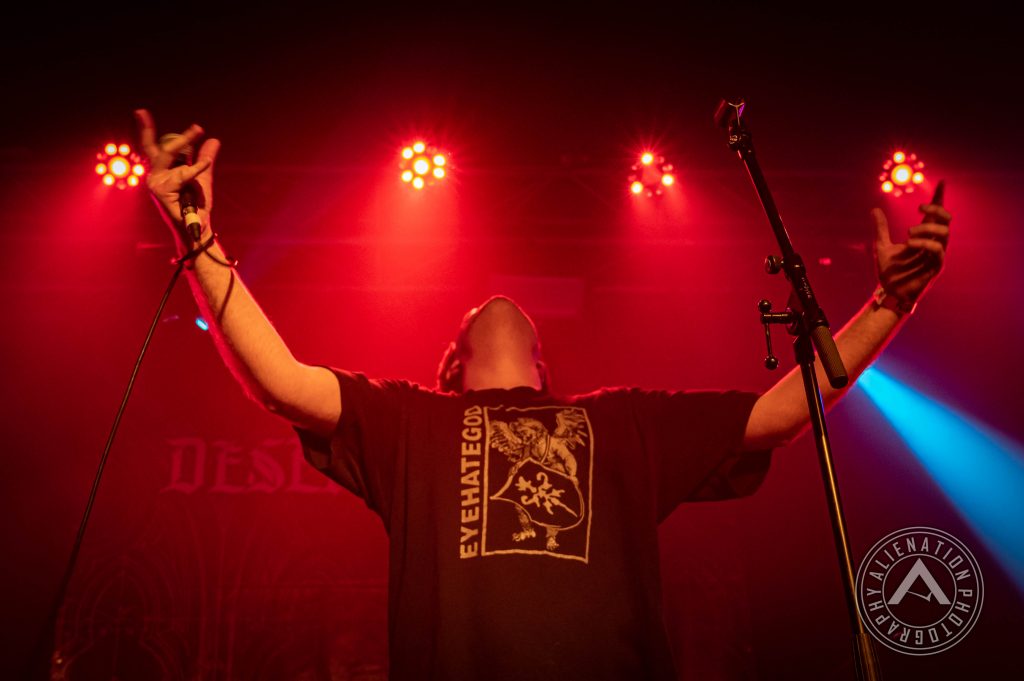
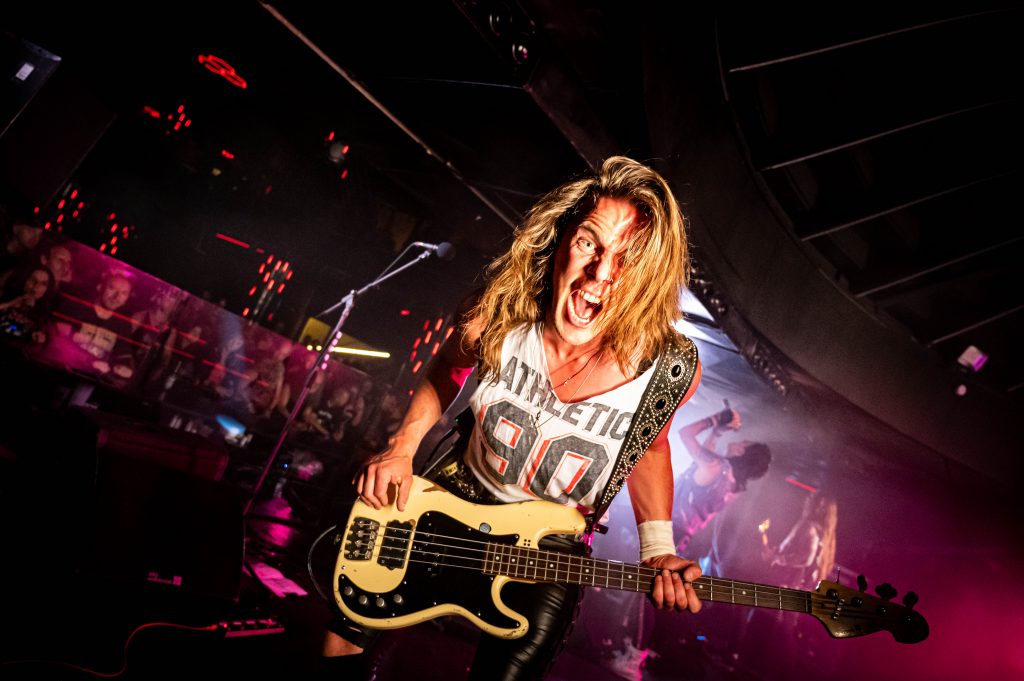
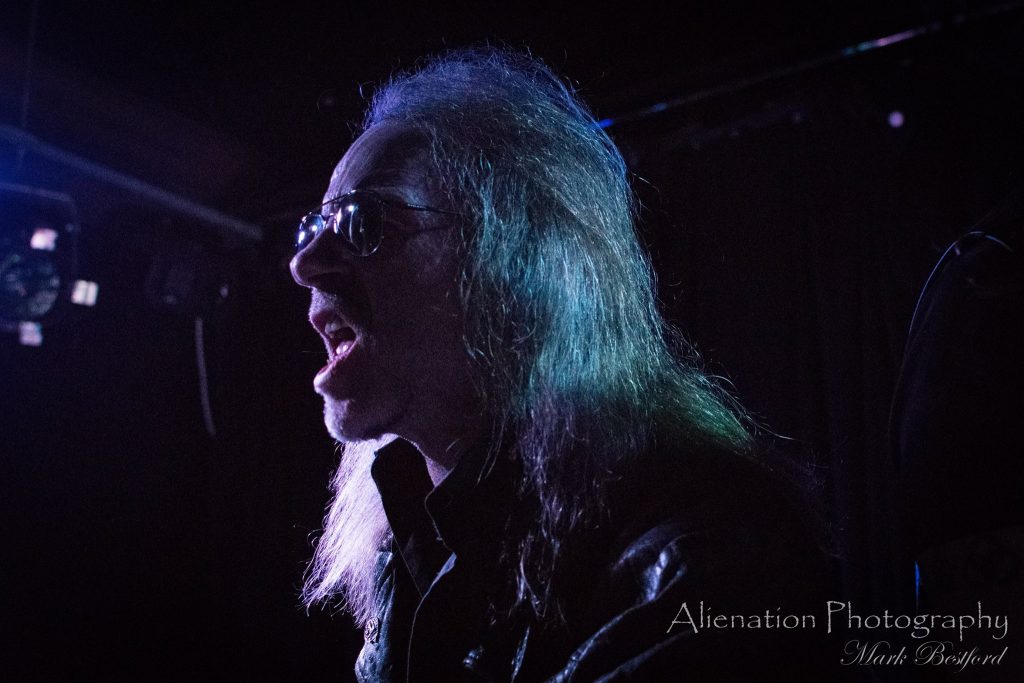
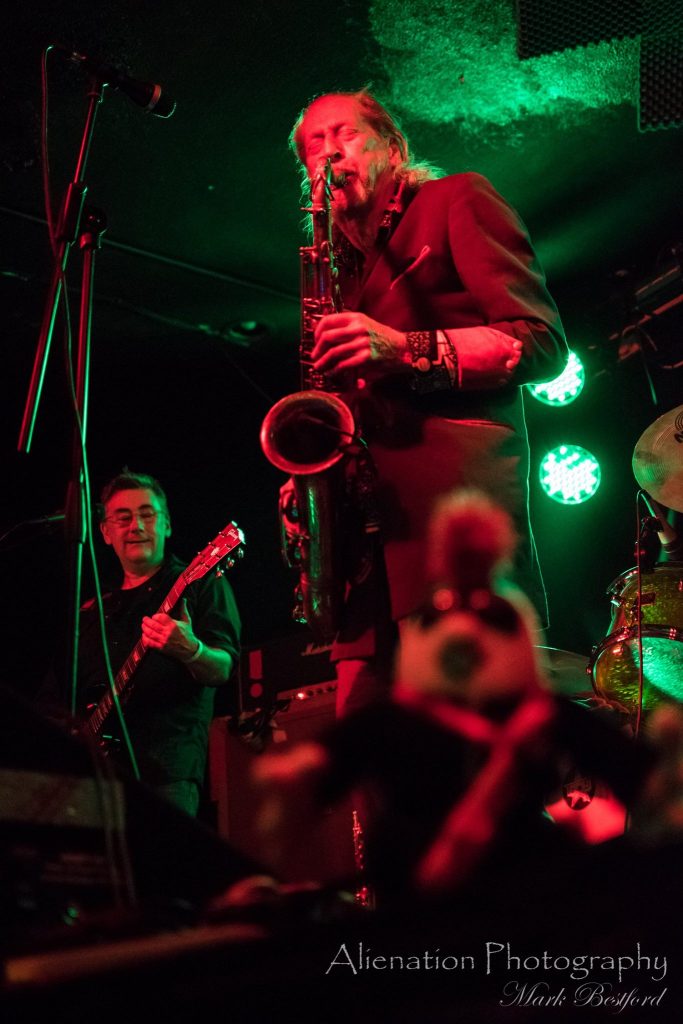
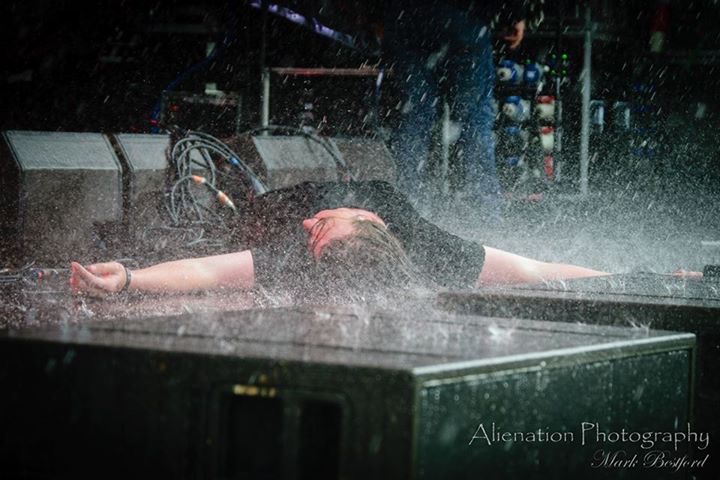
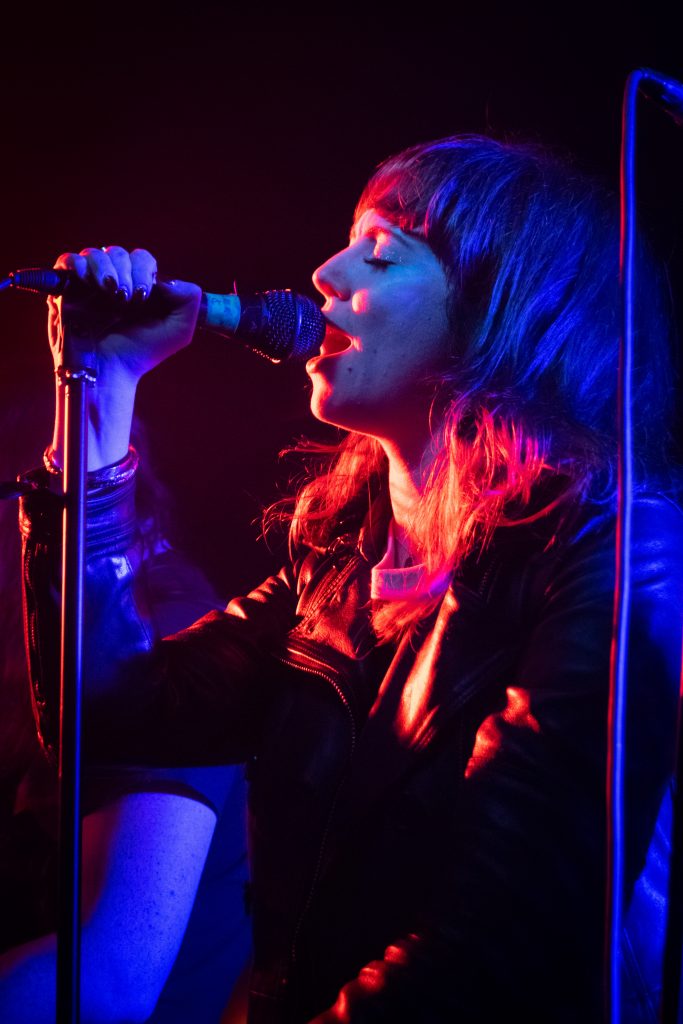
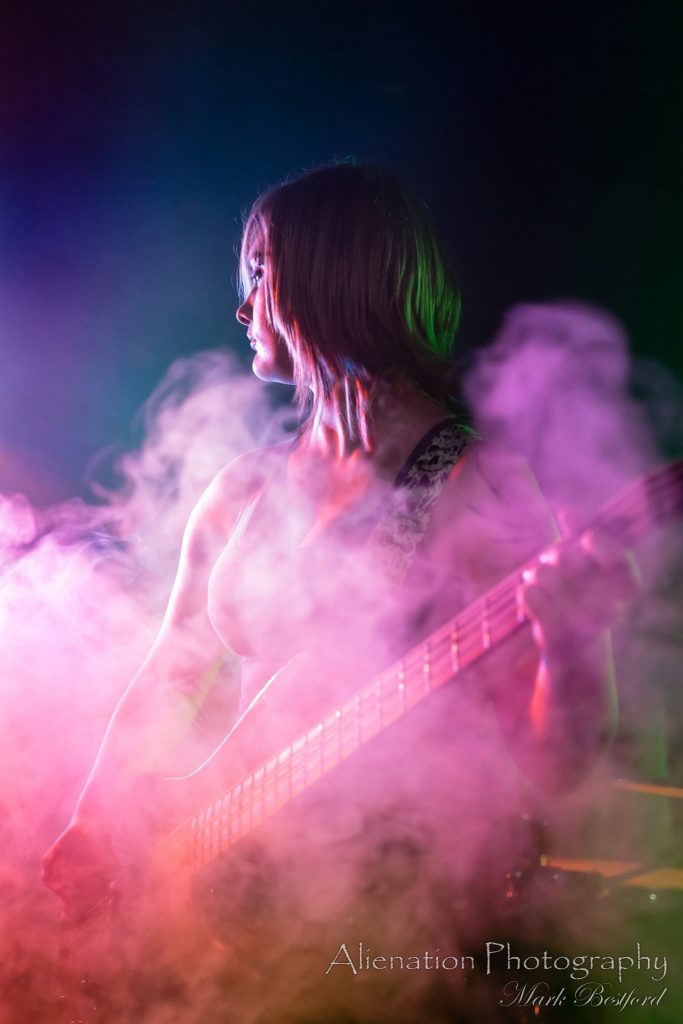
Photography is often said to be painting with light, and lighting is an important aspect of any concert photography. Lights work best when they are mixed, monochrome lighting is the bane of of the concert photographer, with reds and blues being particularly disliked. The reason is that reds and blues can make a photo feel flat and lifeless, but when coupled with the right subject it can still work, so don’t be put off too much.
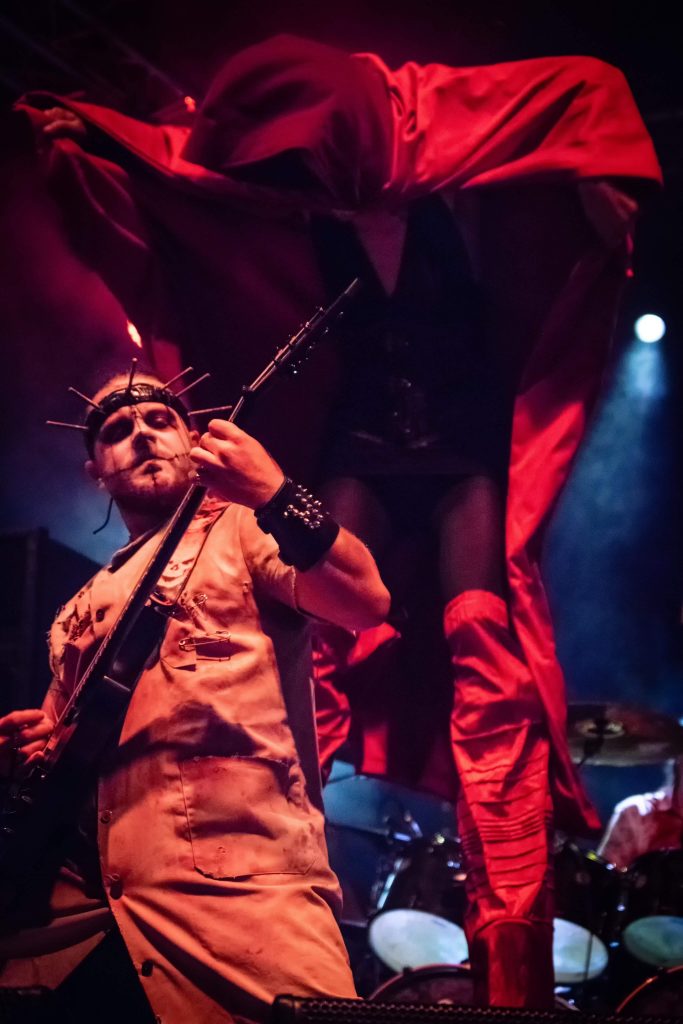
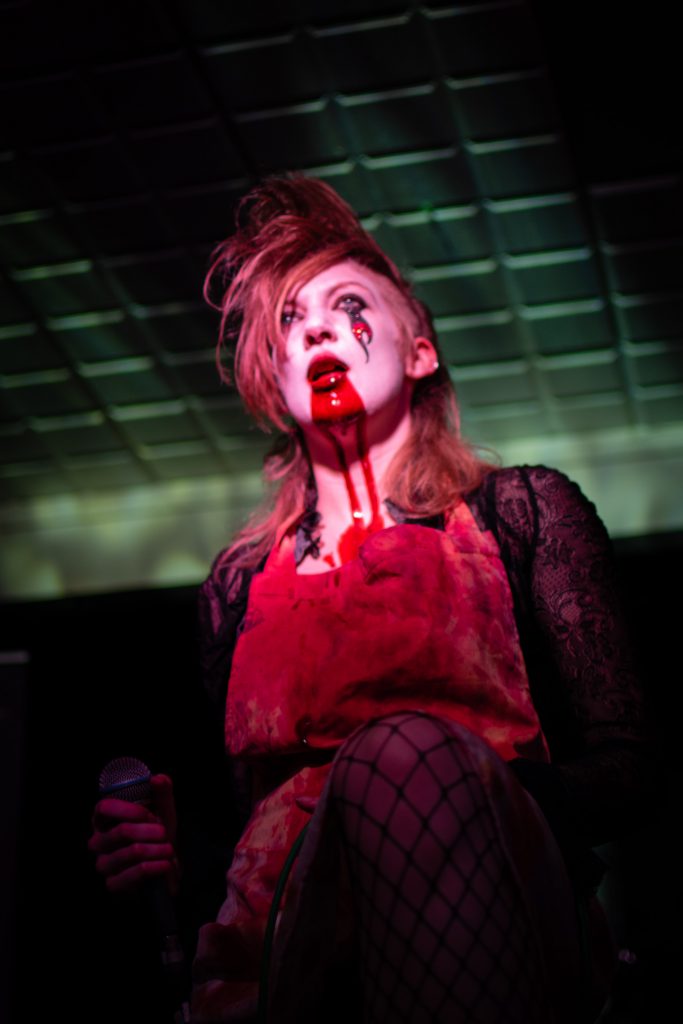
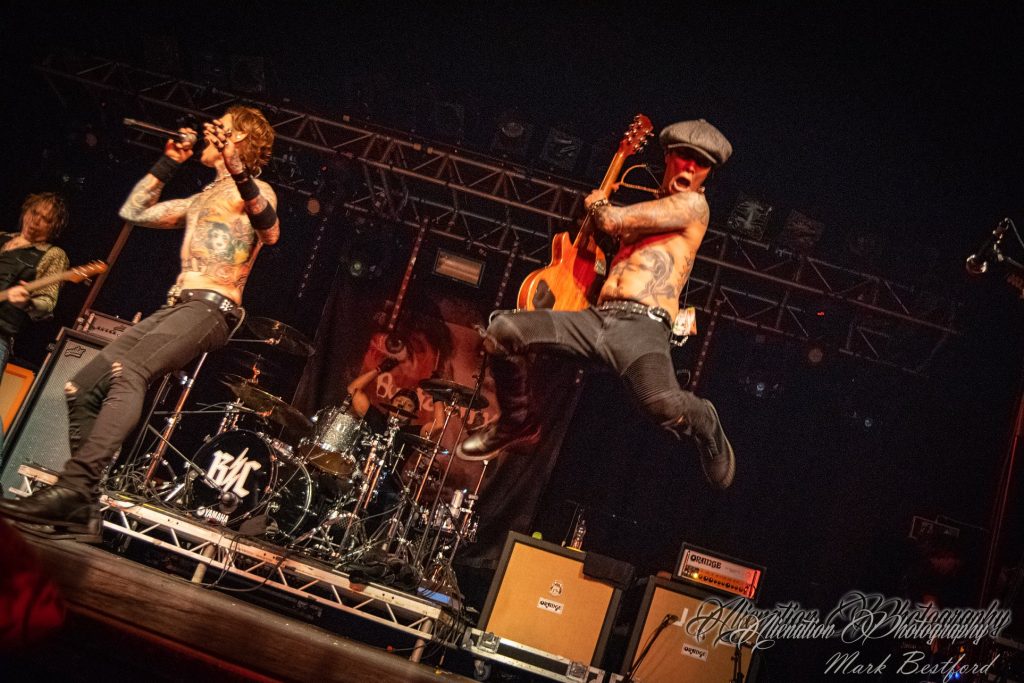
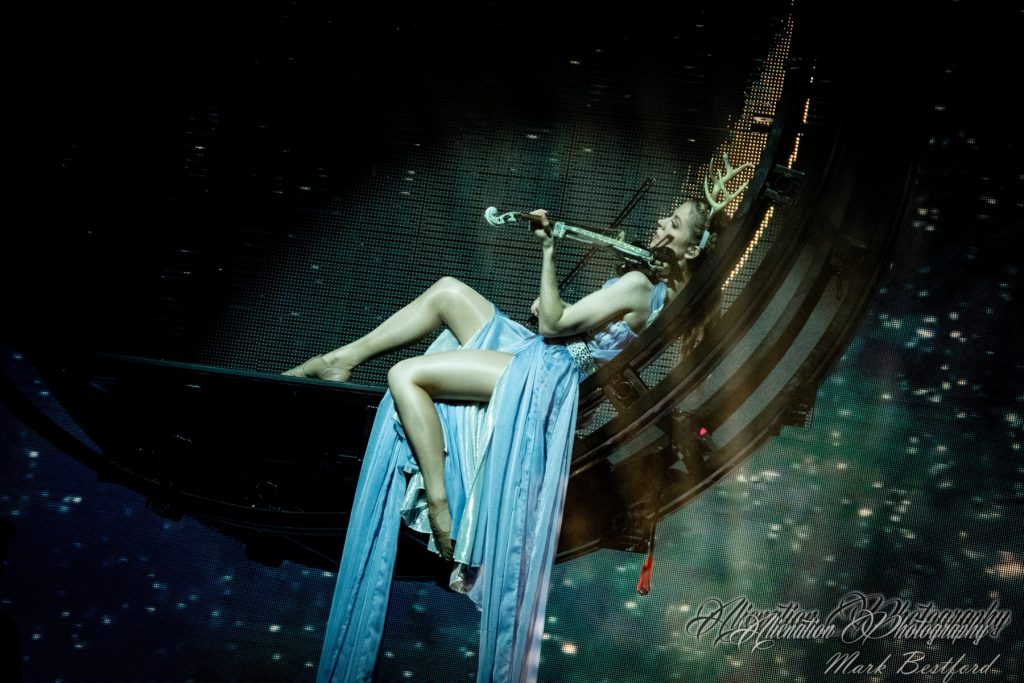
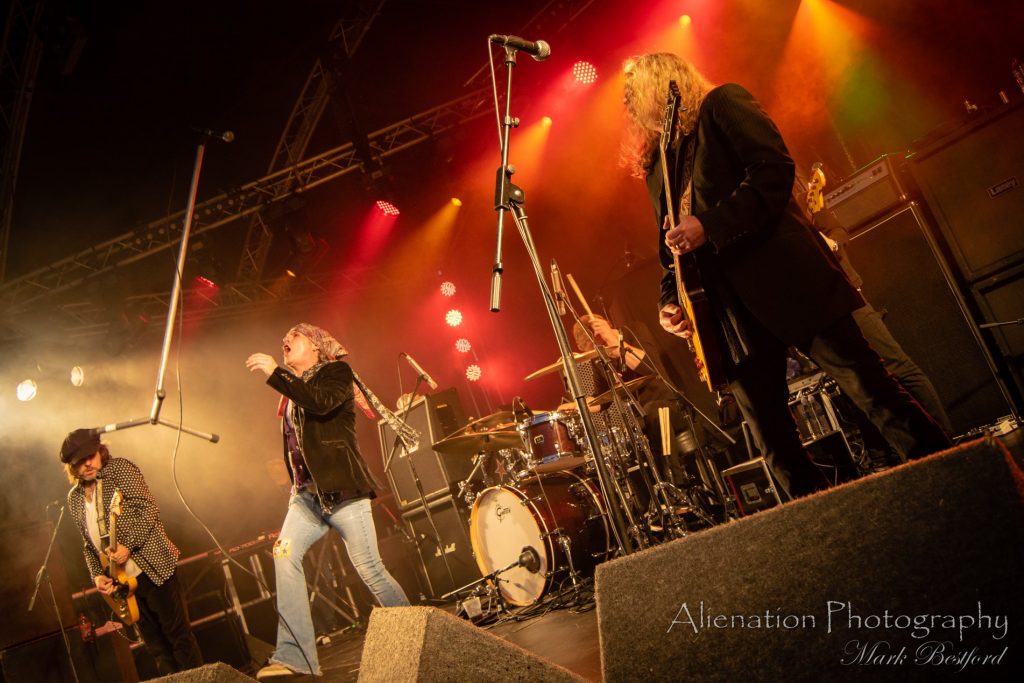
And sometimes the lighting combines to make something truly spectacular.
No Comparison
I cannot stress this enough, creatives are terrible at imposter syndrome. The worst thing you can do is to compare yourself to your peers. Stop. Don’t do it. If you’re constantly comparing yourself to someone who has the latest equipment and decades of experience you will always feel inadequate. I’ll let you into a little secret: unless they’re the most arrogant, narcissistic bastard on the planet they feel the same way. Even the best photographers have off days where the lighting just doesn’t work, or they just missed that great shot you took because they were at the other end of the photo pit. As for that bastard? Yes they exist and they love nothing better than to tell photographers starting out that they shouldn’t be in the photo pit. Everyone starts somewhere. Ignore them (and ignore that voice at the back of your mind telling you you’re no good).